I used the slice tool within my animation techniques as part of the wallpaper animation when it was removed in the main upstairs hall.
To begin with I had to apply the slice tool to the wall object that was in the scene, in this case it was the inside wall object.

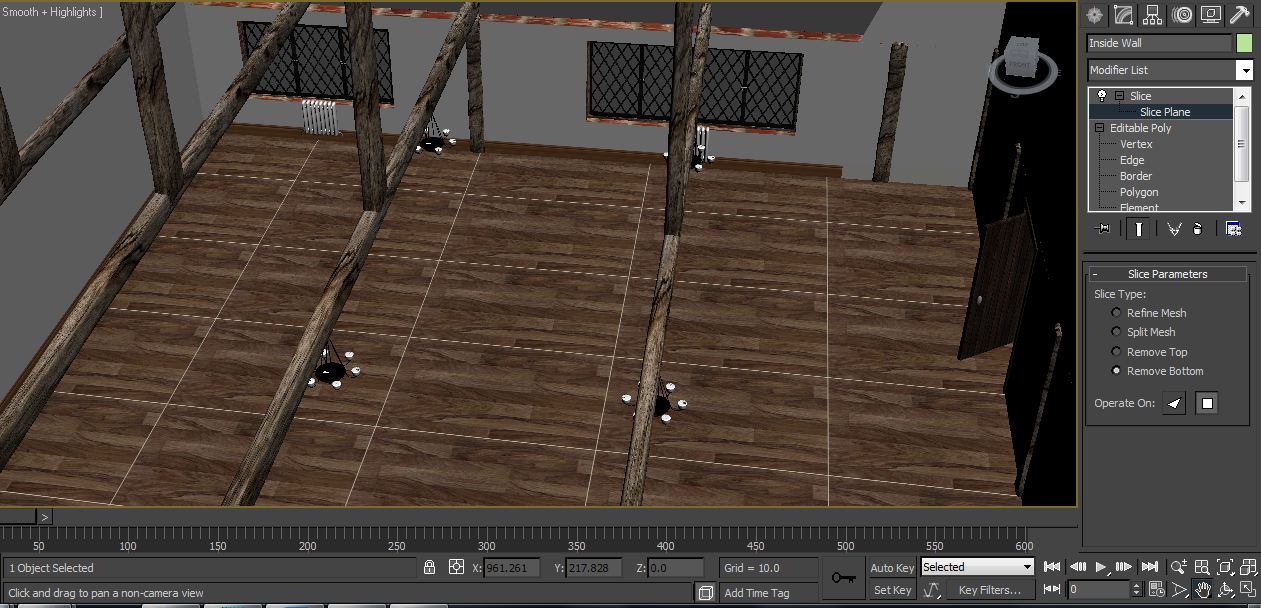
Once the slice tool had been applied I then had to edit the plane size to ensure that it would flow the correct way and covered the entire wall that needed to be sliced back. Adjustments were made using the size tool and rotation tool .I had to ensure the plane was facing the correct way at the beginning of the timeline.
The image below shows adjustments to the slice plane:


Using the auto key frame on the timeline I could now create the animation of the wallpaper being removed on the wall. Behind the wall was another wall that had a brick mapping applied. This would give the effect of a bare wall behind the wallpaper.

Timeline:
At frame 0:

At frame 70 (no wall):

I found this slice modifier very easy and simple to use and it also created a unique animation effect.
No comments:
Post a Comment